Cloth Simulation

To simulate cloth or fabric in BLender, for example in case we need to create a table cloth:
- Model the shape where the cloth will be on top of it
- Add a plance and you can give the plan some thickness through the ‘Solidify’ modifier and bevel its edges using the ‘Bevel’ modifier
- In the ‘Physics’ options mark the model as ‘Collision’
- Make sure that the cloth or fabric has enough subdivisions in the ‘Edit Mode’
- In the ‘Physics’ options mark the cloth/fabric as ‘Cloth’
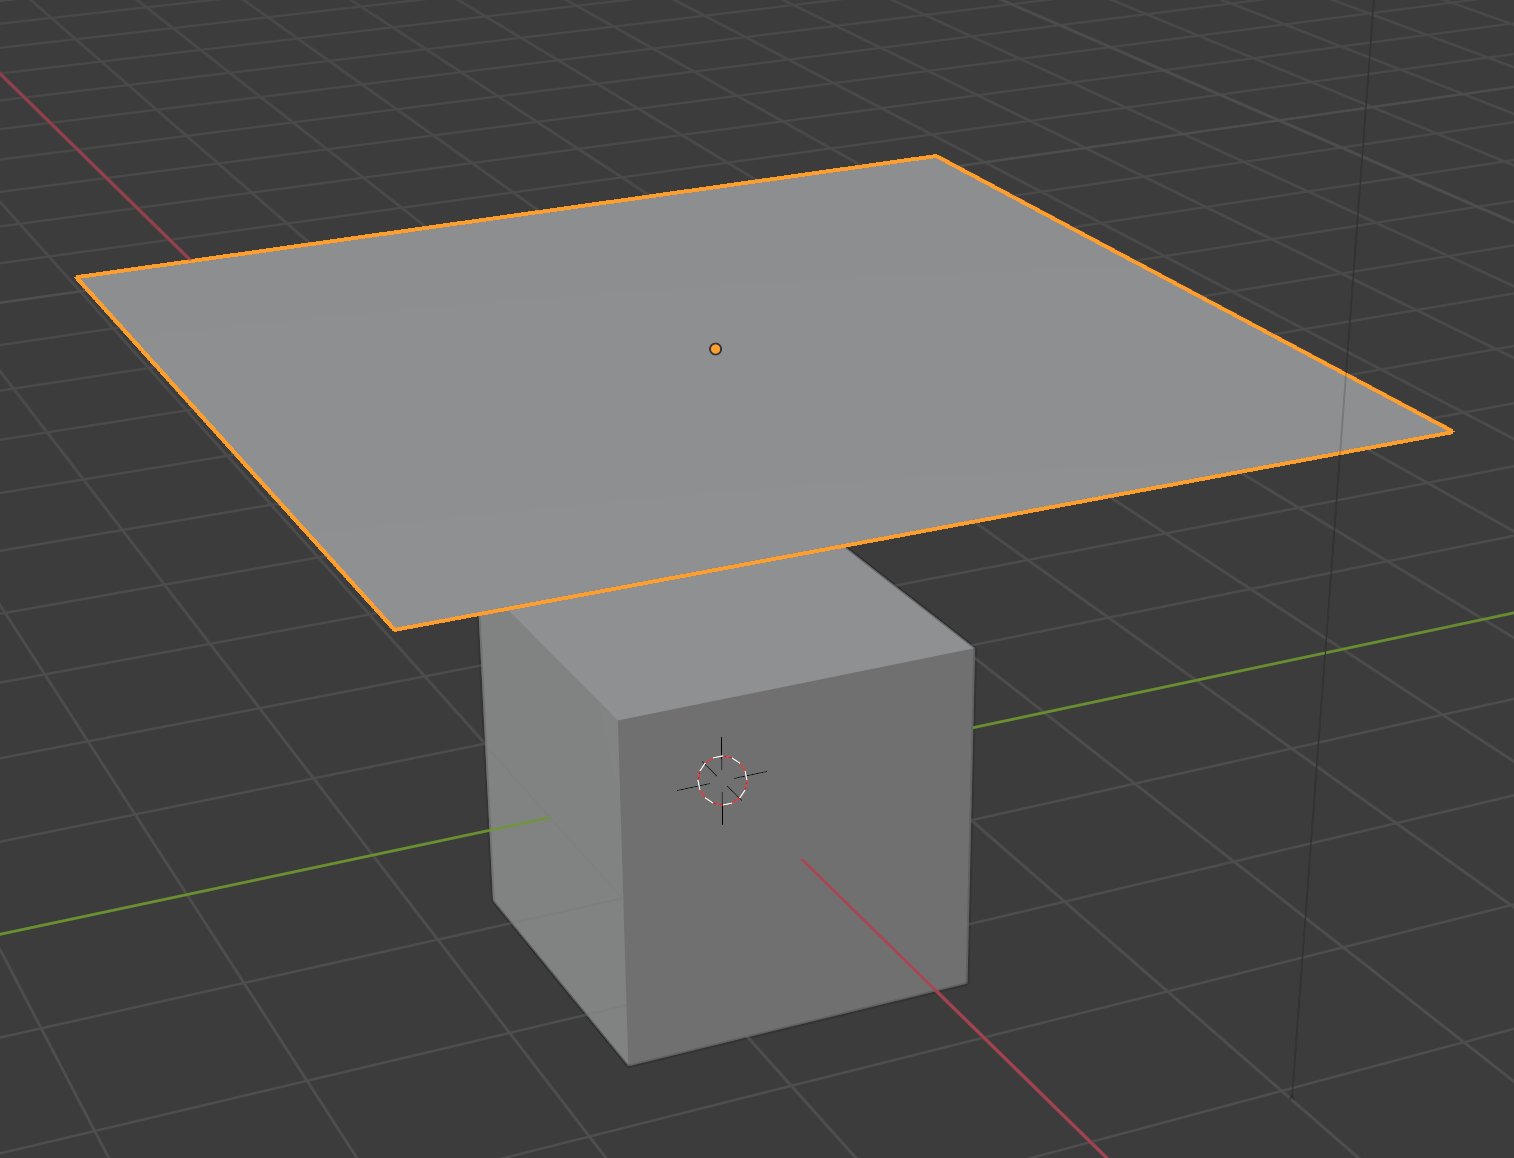
- Make sure that the cloth is above the model (image #1)
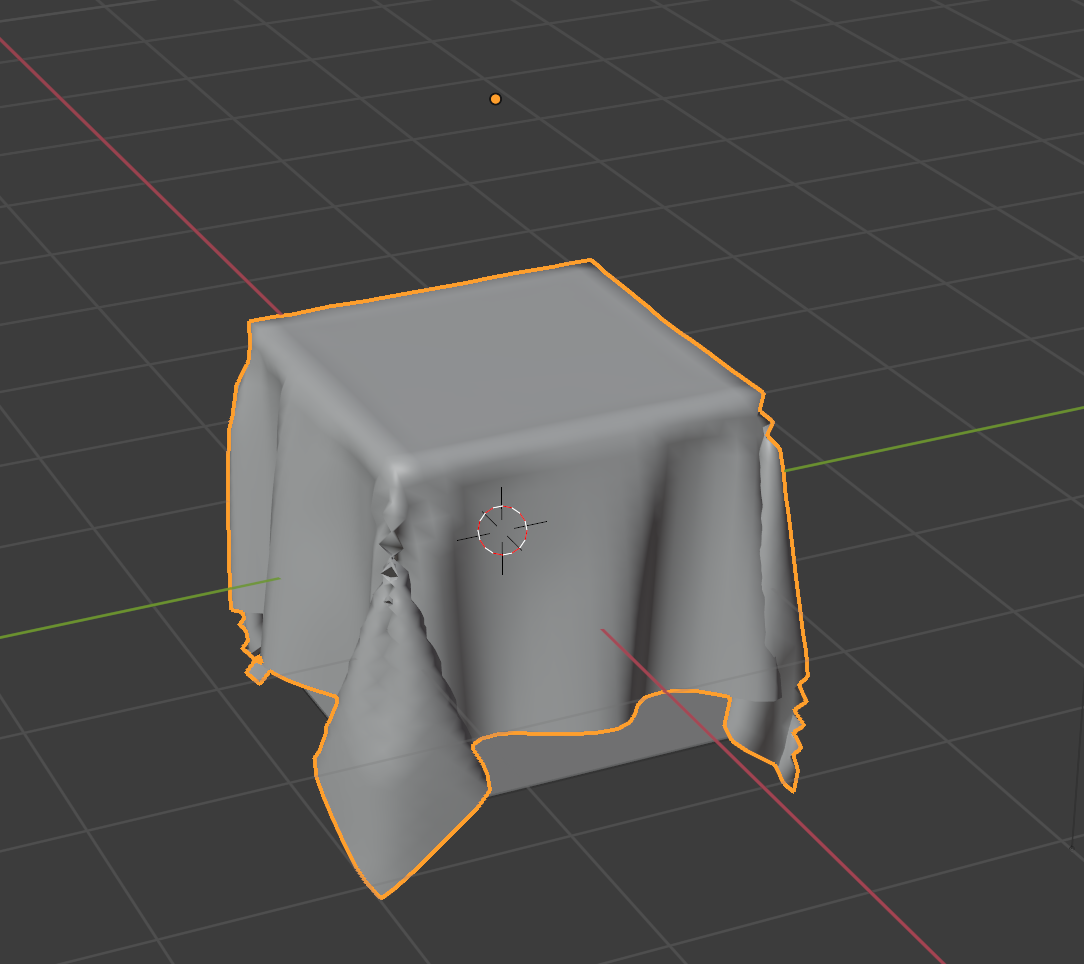
- Run the animation and the cloth will fall into its position on the model (image #2)
- Note that you can inside the ‘Cloth – Physics’ options mark ‘Collisions – Self Collisions’ to simulate the cloth wrinkles
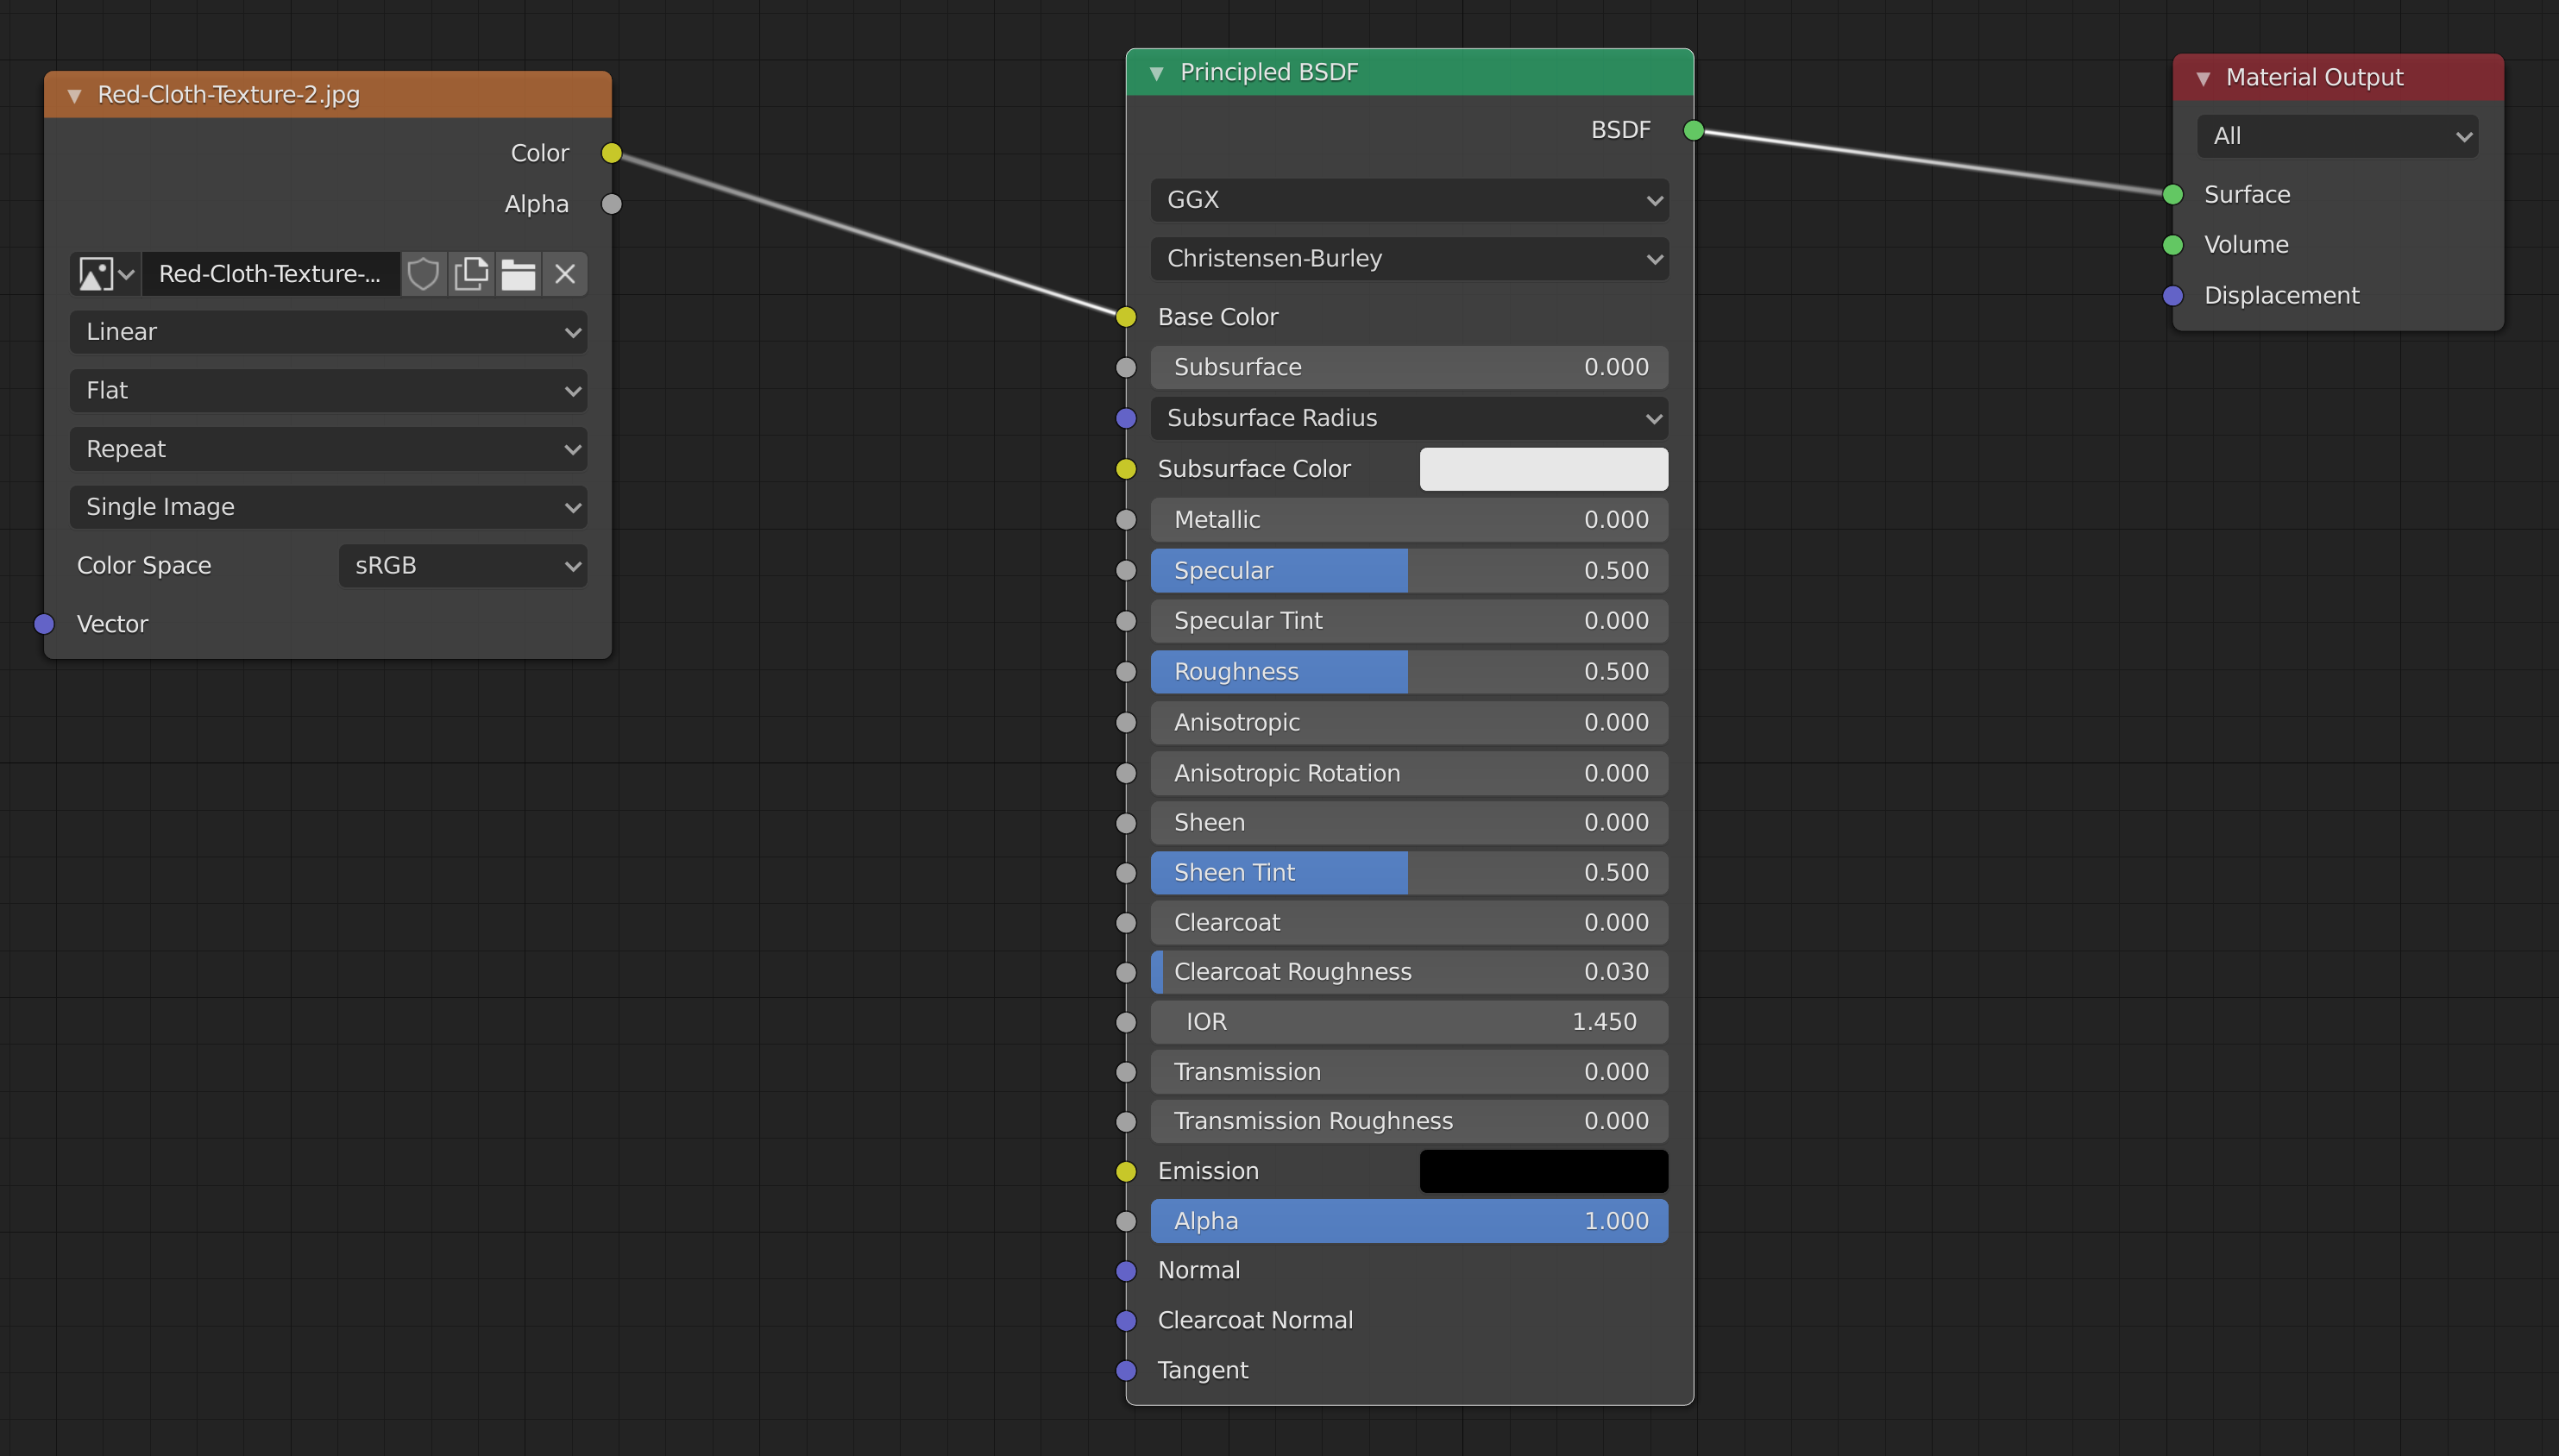
- For the tecture used with this cloth check the below texture nodes


