Blender UV Unwrapping

- Any added object has a checkbox to decide whether to create an automatic UV or not
- Select the object in object mode then change to edit mode
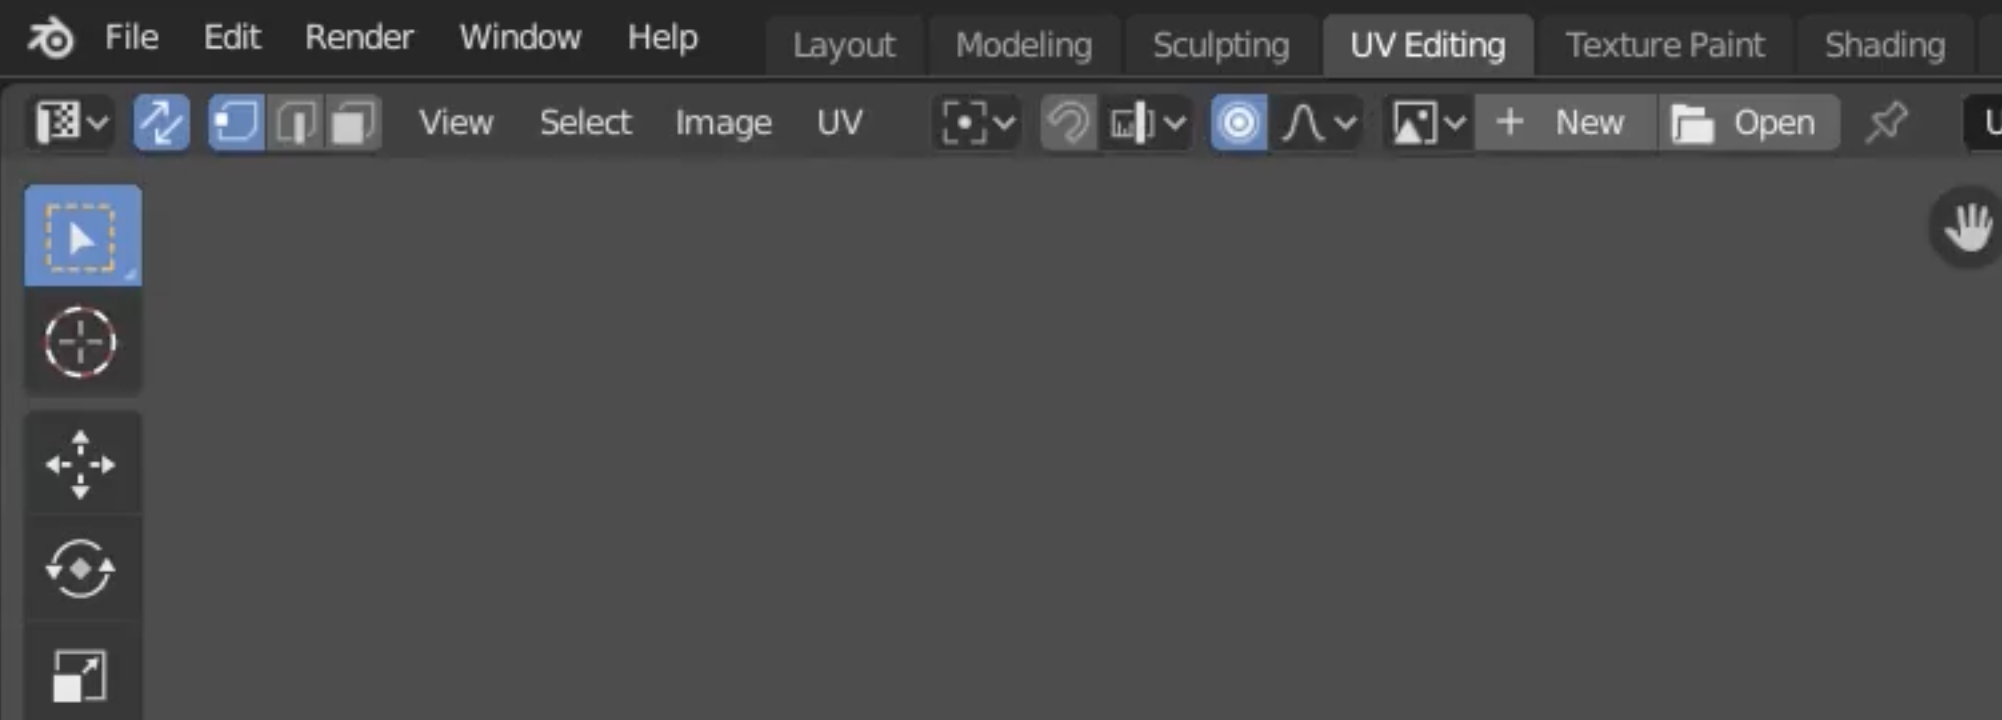
- Divide the screen to have a UV Editing workspace opened as well
- From the UV Editing view select the button with the 2 arrows to sync the edit mode selections with the UV Editing view

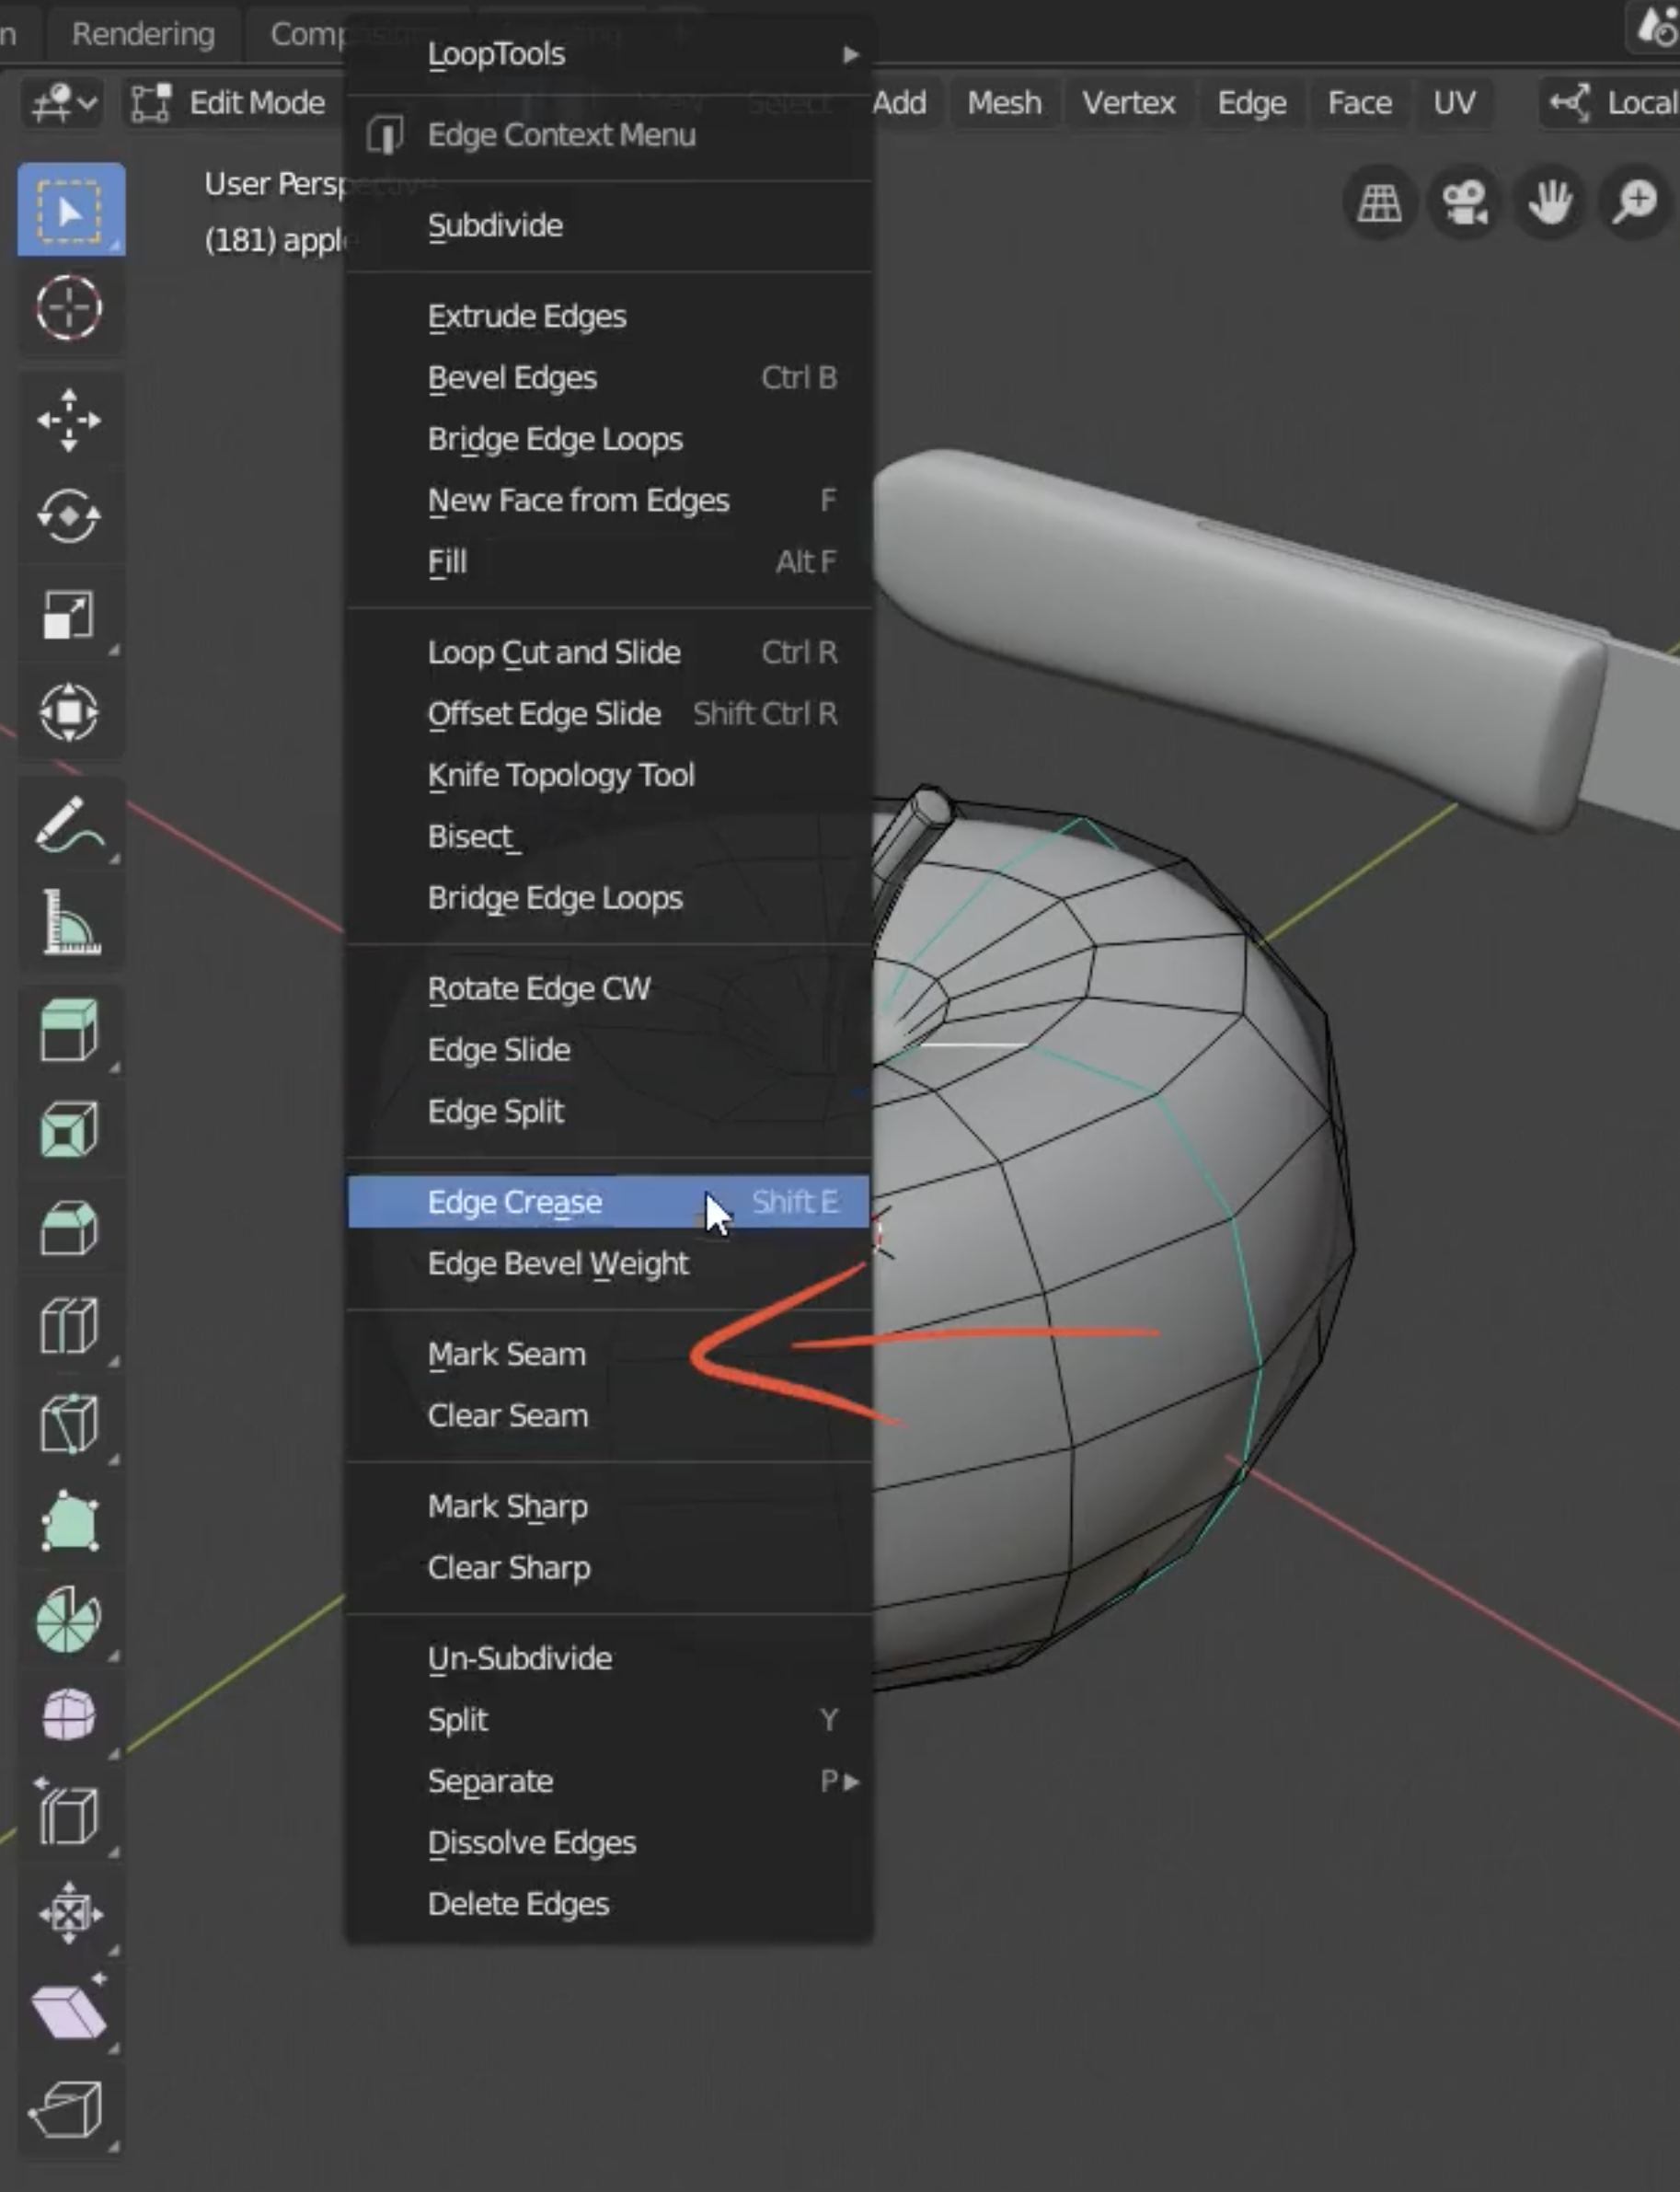
- Select the edges that will represent the cuts (or Seams) in the object
- Right click and select “Mark Seam”
- The chosen edges that will create the seams will be colored differently, in case we need to clear the seams, right click the chosen seams and then click on ‘Clear Seam’

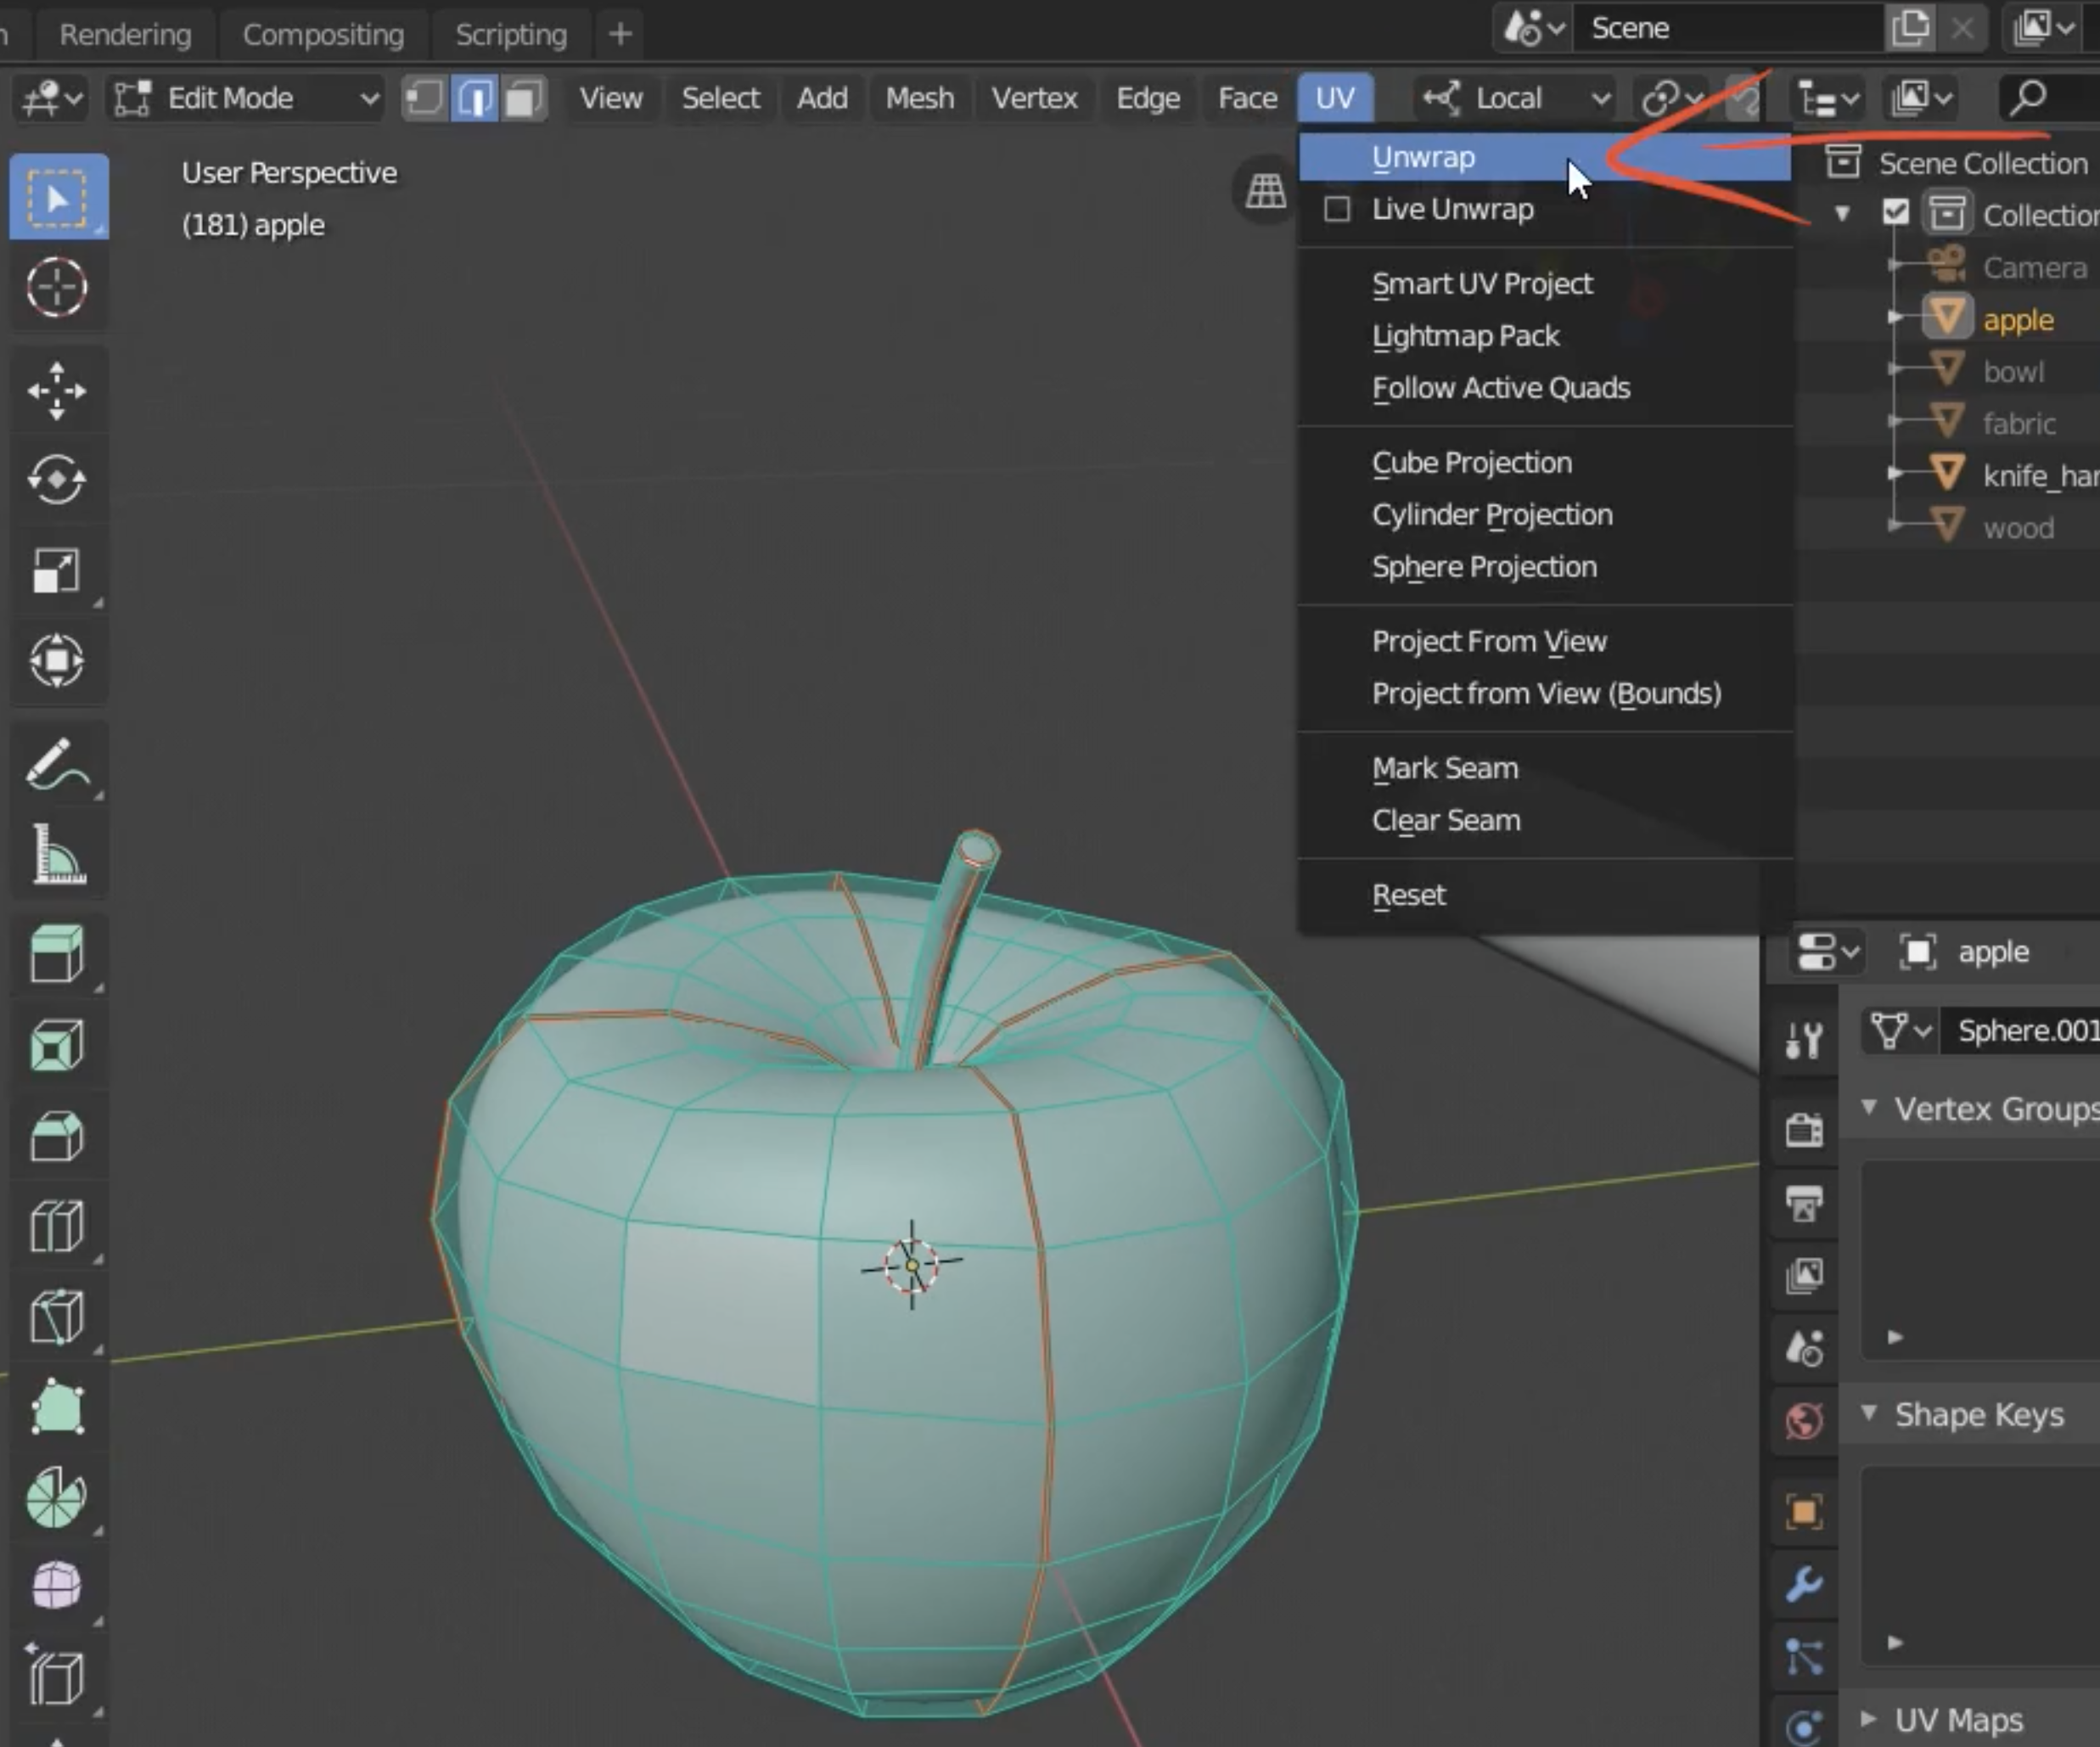
- Click ‘A’ to choose everything then from the top menu choose ‘UV > Unwrap’

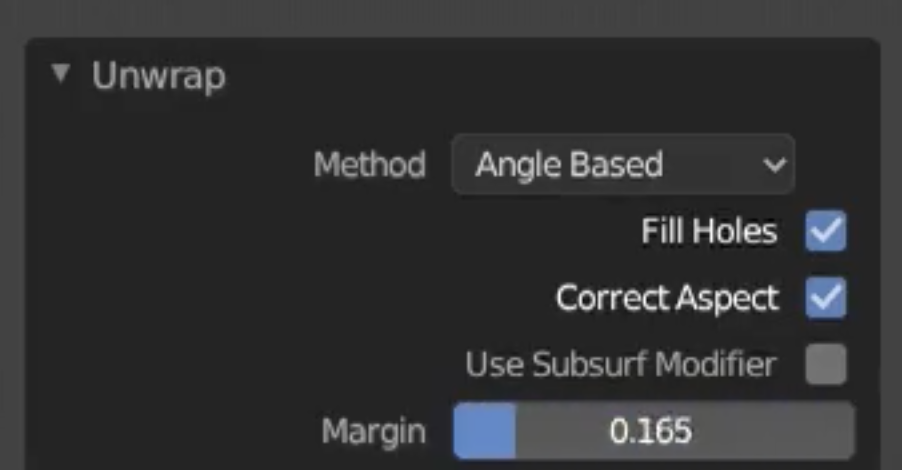
- You can change the margins from the opened window
- Disable the arrows that were enabled in step #3 and now you can use ‘G’ and ‘R’ to move and rotate the created UVs, this can be helpful if we need to reorder the UVs in a better way, while doing this don’t scale a single UV island as they need to match each other’s resolution, also make sure that non of the islans overlap each other


